Thursday, September 10, 2015

What's Going on in the Classroom: Personal Logo Project

Before diving into the first project that I'm doing with my foundations classes, I wanted to share some pictures of my classroom. It's a big adjustment, not having to decorate as much as we did in elementary. But I still wanted to bring some color and humor into the high school art room.

My desk area looking out on the student tables

Student tables and you can see our metal working station in the back

Student computers

Some decor

Going to implement a word wall for critiques


Sink area

Comfy chair for lounging

Target Goals for the day

I'm lucky to have the room all to myself! Yes, that's right. I'm the only teacher that teaches in that room. I even run a study hall in that room! 
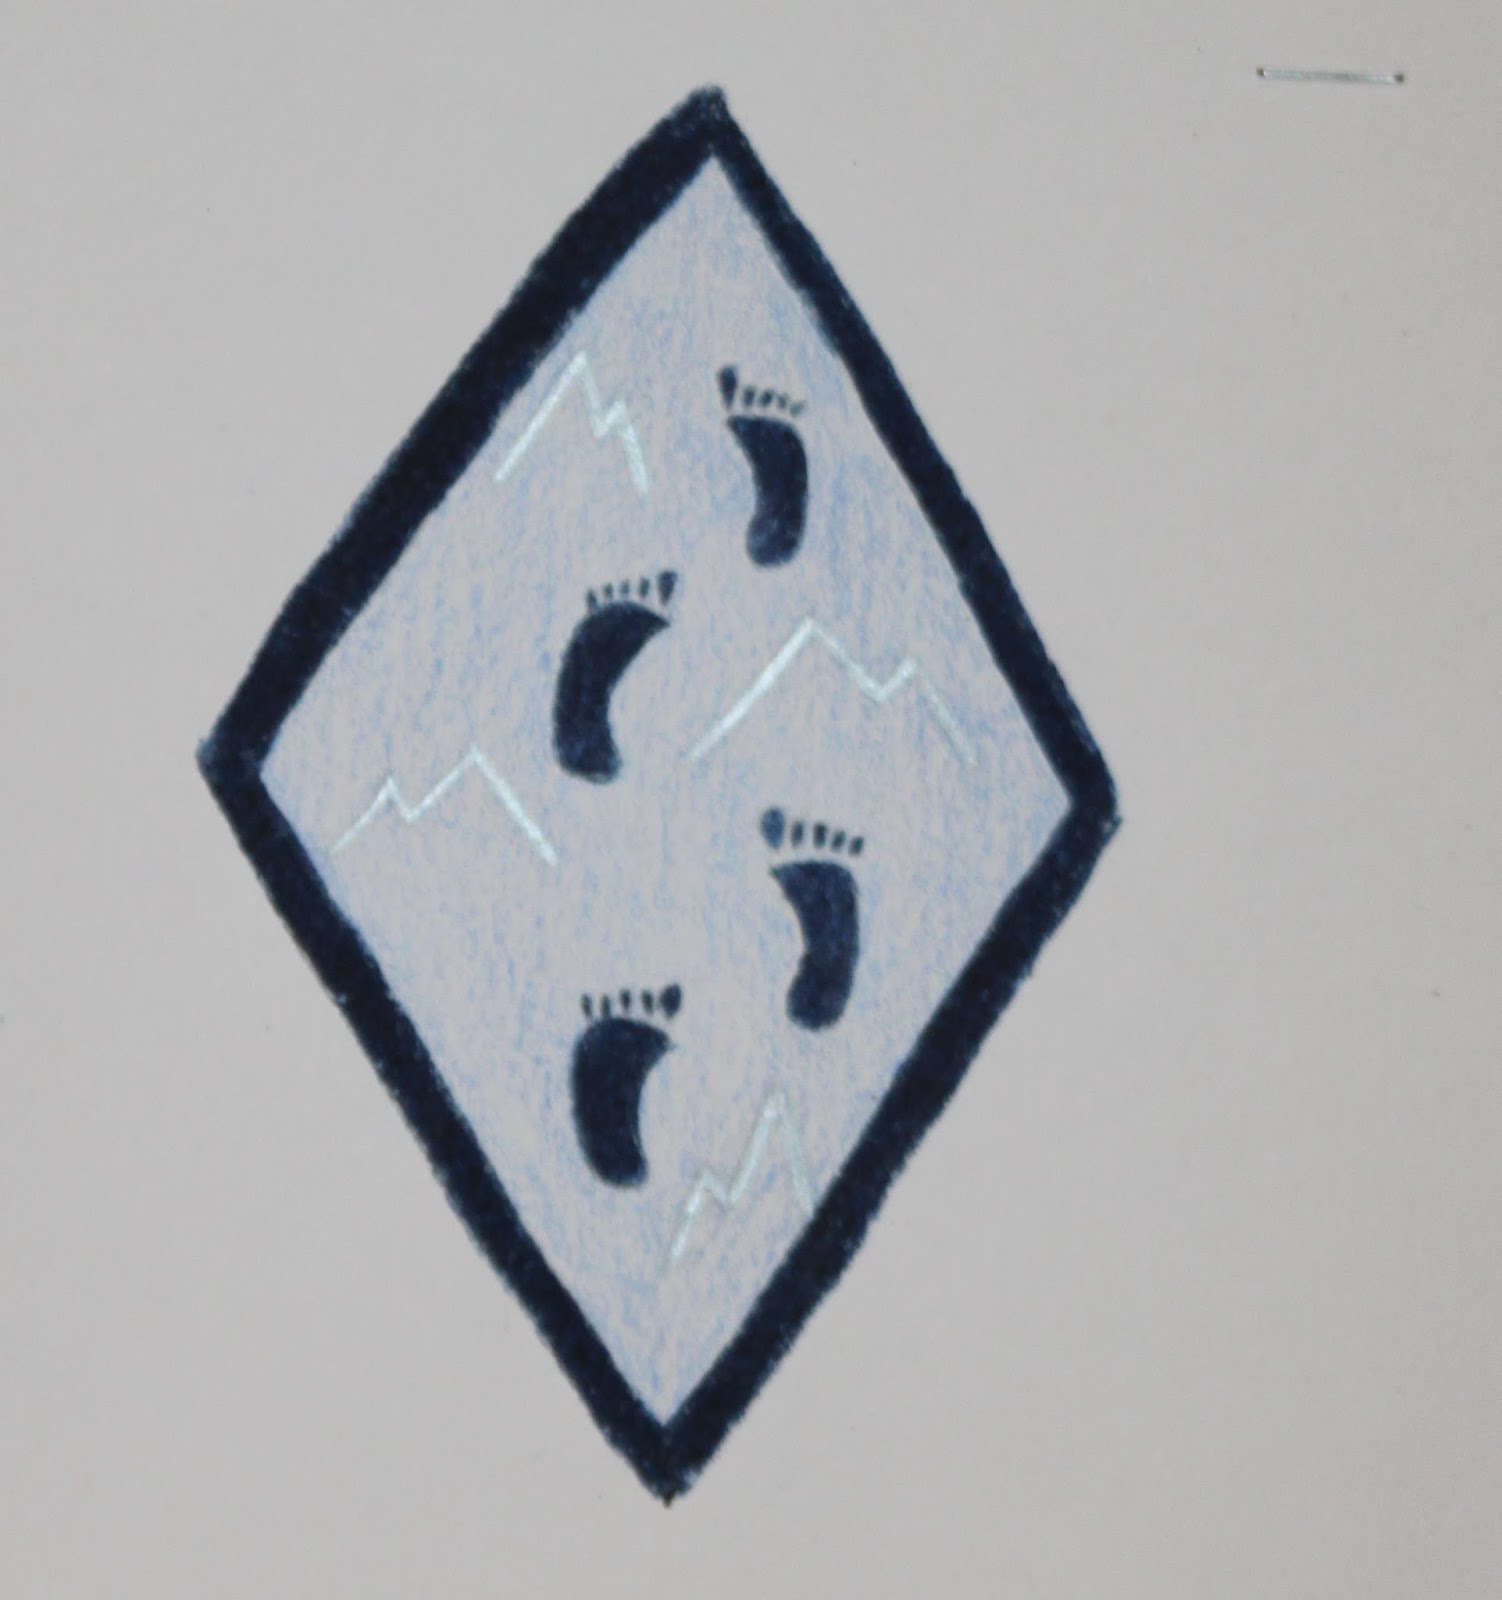
Okay, so enough of that. For my foundations classes, we started off the year with a nice, stress-free project that would help me get to know them more as people and as artists. I introduced a Personal Logo Project yesterday. Now I have to 'fess up, I stole this idea from my colleague who used it in the same class in years past. In class, we talked about famous logos, specifically the Nike 'swoosh', and about what made that logo so great. Then we discussed the parameters for their personal logo. It had to be small, include color, no borrowed images only their own designs, and it had to share something about who they were. 
Funnily enough, it was not so stress free for a lot of the students! But as they began working, I walked around and conferred with them and most of them were able to realize some pretty cool designs! What I enjoyed was that there wasn't a lot of technical skills involved in this project so instead of instructing, I had the opportunity to walk around and observe each student and their skill level and interest in art. I also got to know a lot about the manner and pace in which they work. And even more so, I got to know more about the as a person. I call that a win, win, win! Check out these awesome personal logos.




Friday, August 28, 2015

Summer 2015

As this post is titled, it will be all about my summer, which is sadly coming to an end. I am ready for school to start though. I know I won't be happy about the early mornings or the paperwork, but about seeing excited kids, learning and teaching me some stuff along the way, that I can get into.

Before I dive into what I've been doing this summer, I wanted to announce that I will be teaching art at the high school level this year. I accepted a job at one of our fine high schools and will be teaching a foundations course called Concepts and Materials, and one section of Photography. So this blog will still be about lessons and student work, however; it'll all be for the high school level. I'm really excited about this change. And nervous! I love the elementary kids and they're so excited about learning and creating. But I think it will be challenging and rewarding to teach students who are more interested in making conscious decisions about their artwork and who are interested in pursuing art at a higher level.

SO my summer! It involved a lot of lazing around, which was amazing. I also worked on several projects, including re-painting a small shelf unit, redesigning a dress and sewing another one, making a kimono (they are so popular right now!) and trying my hand at some embroidery! It was eventful.

Re done shelf, it used to be bright orange!

Dress I sewed myself. I need more practice :)

Design for my embroidered backpack!

Getting started, I basically just started trying things.


I hand-made the drawstring backpack as well.

Doing more interesting things.

This is where I'm at now, only a half more to go!


We also did a little bit of traveling to St. Louis, Ohio, Mackinac Island, Delaware and Ann Arbor. Mostly these trips were for seeing family, but a couple were just for fun, for the two of us to get away.


Sibling Camping! (well mom and dad were there too)

Hanging with my husband's family.

Celebrating the life of my Grandma


We flew to Mackinac Island for the day!

Whew! After all these adventures, I'm ready for the classroom again! I know I probably won't be thinking it after a couple of those high school mornings, but right now I'm excited! More to come on my classroom as we start back next week. Happy last days of summer!


Thursday, June 4, 2015

Environmental Art Project

So the year is winding down. Look at all the things that we learned about this year!


My challenge is always to find things to do with the students in those last days of school. Something that is meaningful but not a project that will take more than one or two classes. One of my favorite projects I wanted to share here...

I love to spend time talking about Environmental Art and Andy Goldsworthy. I usually do this project with 2nd grade.There is a lot of information about him online and plenty to images to show the kids about his work. Here are just a few.


We spend one day learning about Andy Goldsworthy, getting into groups and planning our environmental sculptures. Students have to work together to come up with one sculpture idea. This really encouraged communication skills and collaboration within the class. They make a sketch and a list of things they will use. They are only allowed to use things that they would find outside.
We also spend quite a bit of time talking about how Goldsworthy always left his art in nature and so sometimes that meant that it didn't last. I wanted to make sure students knew that we would be taking a picture of the sculpture and then leaving it for nature to take it course (or the students on the playground to take their course!).

On the second day, we go outside and make our sculptures. Some of them turn out exactly like the drawings and some are modified on the spot, but that's okay. Students know as artists, they can change their minds when they need to. One girl even brought rocks from home and make sure she had the design her group was looking for. Here are some of our Andy Goldsworthy- inspired Sculptures.


Wednesday, May 20, 2015

Printmaking: For all Grades!

As the school year winds down, the challenge for me is to have projects that students can complete by the end of school. With class picnics, parties, field trips, and kids just being absent for whatever reason, it's not always a good idea to start long projects.
One thing that I know we can do in one or two class periods, is printmaking! Specifically in this post I'll show mono printing with 1st grade students and chalk prints with 4th grade students.

For monoprints, I have some plexi glass sheets that I set up with paint into stations for the kids. We either watch a short video or I demo how to create designs using whatever tools we have sitting out. We talk about how to make a monoprint by laying the paper on top of the design and pressing down. We also talk about and the kids make a ghost print right after their first print. This way they usually get at least one successful print! While kids are waiting for their turn at a printmaking station, they can free create, but also should be thinking about what their design is going to be.


Chalk prints are a little different, although I would still label them as a monoprint. For this project, we involve stencils. Not gonna lie, I got this idea from Cassie Stephens, check her out here. Again, I set up stations, but this time, instead of a paint covered plate, it's a shallow tub of water. 
I demo the process to students and then they head back to their seats to put their names on their paper and cut out shapes to be their stencils. We talk briefly about how simple shapes are more successful, but there's always someone who tries letters which have to be done backwards. It's a hot mess!
When students are ready, they come up to a station of water. With scissors, they scrape off a layer of chalk right onto the water. The water holds the chalk on the surface. When they have the color coverage that they want, they lay down the shapes that they cut out and then their piece of paper on top. This part is tricky! They have to just tap the paper lightly with their fingers to pick up the chalk from the surface of the water. They should NOT push the paper down so that it's submerged. After they've tapped all over the paper, they lift it up and viola! A wonderful chalk print!
While kids are waiting for their turn, they can be cutting out new stencils and preparing their paper.