Showing posts with label at home with the artist. Show all posts

Thursday, October 19, 2017

At Home with the Artist: A Fondant Experiment

I love watching cake and cookie decorating videos. I've never really tried any of the things I see, but I think they're mesmerizing to watch. Well my husband's birthday was the beginning of this month, so I decided to try out some fondant airplanes to go on top of a cake made to look like a sky. I think it turned out pretty great!

I started out with some white fondant, black good coloring and a brush and skewer as my tools.

I then did a little sketch of the different types of fondant pieces I would need to put together the planes.

Then I iced the cake with a blue cream cheese frosting. Actually we found later that the frosting didn't taste the same after the blue food coloring went in. Is that common? I thought food coloring was tasteless?

Then I constructed my planes, or should I say jets! I think they turned out awesome! Although they're a bit more purple than they are grey.


Lastly I added the planes and white icing for a plane-tastic cake! 


Sunday, June 11, 2017

At Home with the Artist: Wall Decor

There's this area in our hallway that I've been dying to fill with something! 


I knew that I wanted to put my Harry Potter embroidery in this area from a loooonnngg time ago. Check it out at this post. But I also wanted to add some hanging planters (with fake plants of course since I am a known planter killer)
So I created these adorable mini hanging planters with some clay, white paint and modge podge to finish them off. I poked holes in the back before the clay was fired for them to hang. I got them all set up and hung and guess what!?! They kept slipping off the nails!!


So I had to get creative! I used some leftover leather cording that I had and constructed some holders for the hangers so that the wouldn't fall and scare us half to death in the middle of the night. ( I swear to you, it sounded just like a gun shot!) Here's the final product!


Wednesday, August 3, 2016

At Home with the Artist: DIY Basket and Rug with T-Shirts!

I've been wanting a rug for our bedroom for awhile, but rugs are so expensive! So when I found that my husband had several boxes of old t shirts stashed at my in-laws and they were trying to get rid of them, I of course took them right away!

The first tutorials I followed to make a rug with t shirts can be found here and here. In the tutorial, they want on and on about keeping everything lose so that it won't become a basket instead of a rug. Man is it true! Good luck! Mine went a little bit like this:


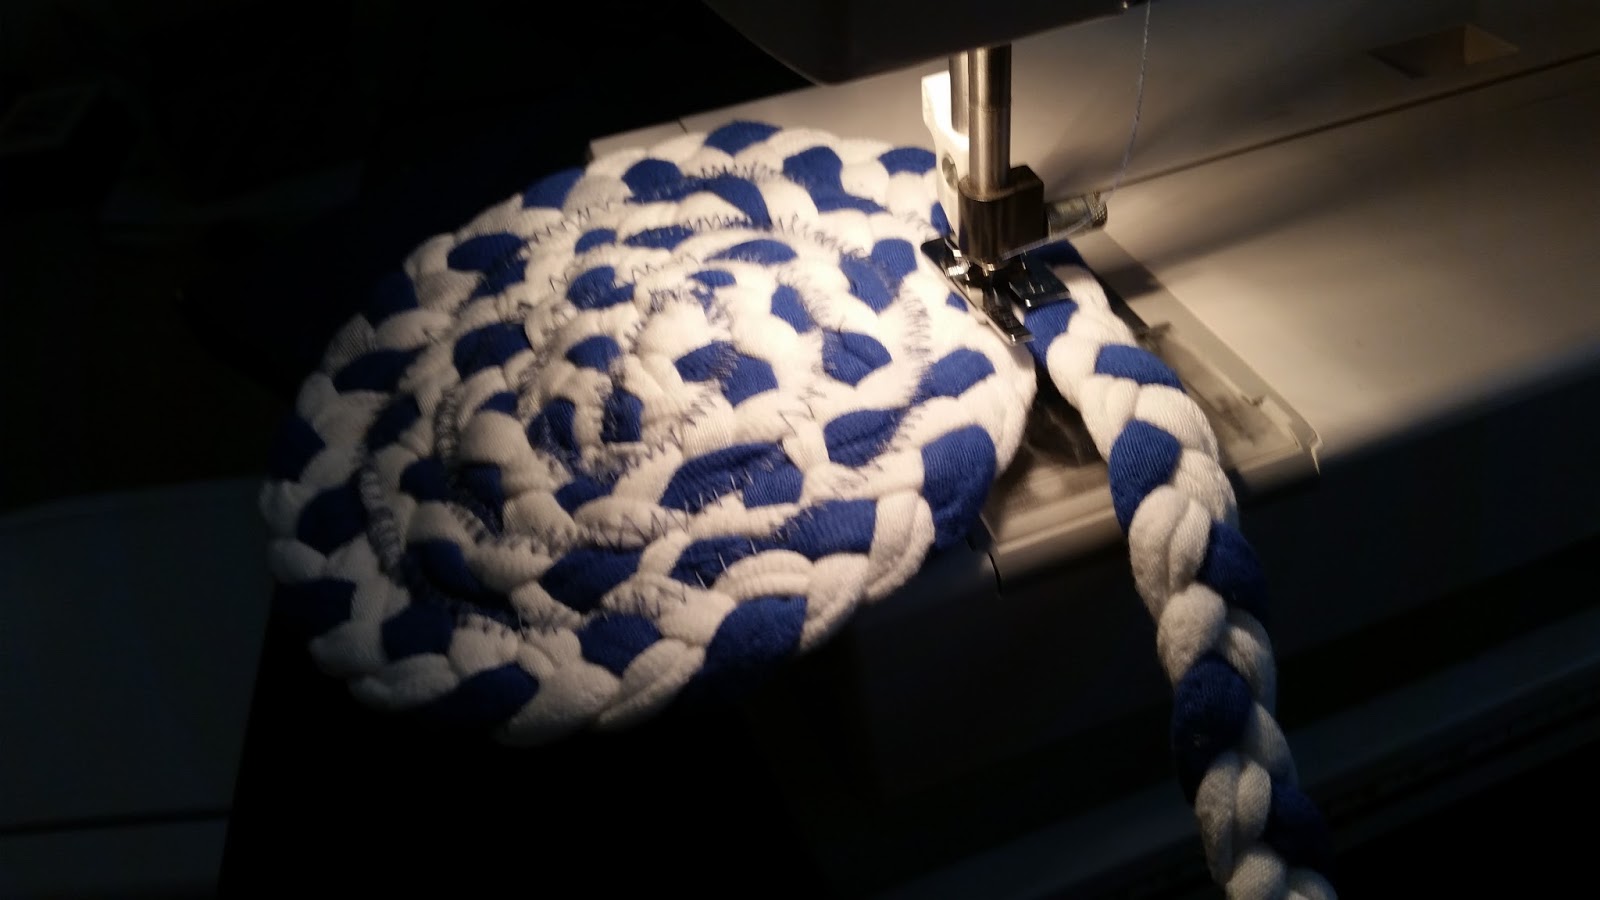
I got about this far before I had to admit that I was making a basket instead of a rug. I sewed and picked out the stitches three times and I still had a basket at the end of that last attempt. So I went with it, finished it up and now have a cute basket for things under my easel.


But I still wanted to make that rug! So I followed a different tutorial found on one of my favorite blogs, A Beautiful Mess. This project only involved weaving and no braiding or sewing. Instead of using sheeting like they suggest, I used t-shirt material since I still had so much of it. 

Marked off the board as suggest.

Strung large pieces of cut up t-shirts onto my 'loom'.

Began weaving with another t-shirt string.

 Almost done weaving the whole rug!

Tying off the ends.

Look at the finished rug at the end of our bed! Some day I would like to make a larger one for the office, but I think with the multiple tries for the first one and then this one, I'm all rugged out for awhile!


Sunday, July 31, 2016

At Home with the Artist: DIY Gallery Wall

So I have been waiting to spiff up our office for a long time. It's hard because it's really more of a working room. We use it a ton and there's always stuff laying out or projects or paintings being done. It's hard to style as a result. I have always known I wanted to do a big gallery wall on the wall farthest from the door. It was on my list to do this summer. I had to wait to complete it until last week since the large painting I wanted to hang up was still being displayed at a show. Here is my before picture of the wall:

First step, I laid everything out on the floor in front of the wall and rearranged it several times until I got the configuration I wanted. All the pieces were made by me, except the picture collage in the middle, which my brother made for me and there are a couple of photographs, one from online (it was a free printable) and one a student gave me.

After I had it all laid out more or less where I wanted it, I start hanging and moving and hanging and adjusting... etc...

Hung up the largest painting first!

And then I just kept hanging, moving to the left...


And here's the final product. I love the way it makes the room seem more cozy and really add some personality to that wall. 


Sunday, February 21, 2016

DIY- Ukranian Eggs

Each year, my art teacher friends and I do some egg dying. This year we dove in a little early due to scheduling. We use the traditional Ukrainian egg dying method of a wax-resist or batik, which is called pysanka. So for each egg, you start with the lightest color and then block out what we would like to remain that color using wax to cover it and protect it from the next color in which the egg will be dipped. This process takes forever, however after finger cramps, strained eyes, and an aching back, they look amazing! Check it out!

All the dyes with tongs set up and ready for the eggs.

Here's Rachel prepping her egg with a vinegar wipedown!

Dipping those eggs!

Chloe using a tea light candle to melt off the wax resist she put on her egg.


My egg in the process of having waxed placed on it

The same egg with all the wax on it and all the layers of dye done. 
The wax is ready to come off!

The same egg after the ax had been melted off and wiped away!

Another egg that I completed!

All my eggs I've done over the years.